Easy Knitted Mitten Pattern With Pictures for Each Step
There is nothing like a nice pair of warm winter mittens . In this tutorial we will be knitting The World's Simplest Mittens (download your free pattern here). This quick and cozy knit is just the thing to stretch your skills and keep your hands toasty.
Six Steps to Knit A Mitten
- Cast on and cuff
- Thumb gusset
- Putting the thumb gusset on hold
- Hand
- Decreases
- Thumb
Materials
To knit along you will need The World's Simplest Mittens pattern, yarn and needles. Because this pattern includes instructions for four yarn-weights, you will first choose the weight of yarn you want to use, then select the needles that match. Check out our tutorial on the materials section of a pattern here if you need help with this.
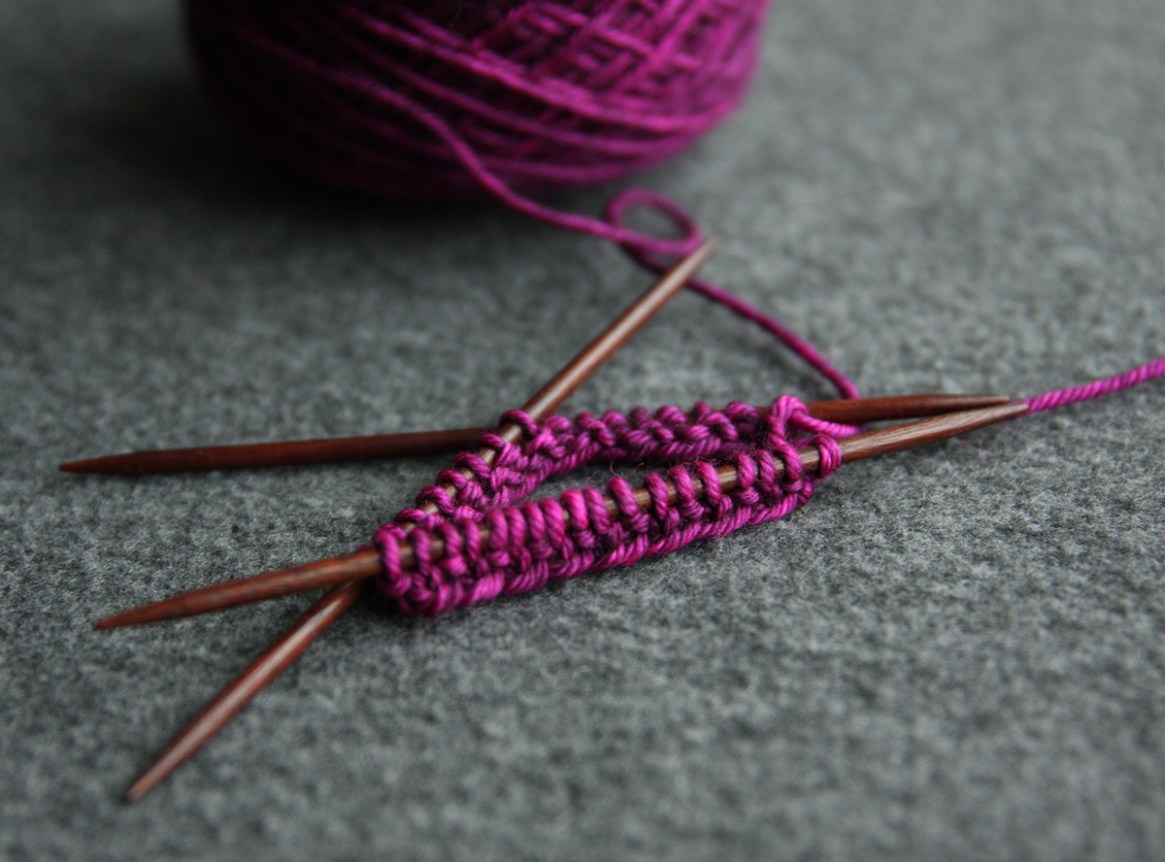
For this tutorial I am knitting in Rainbow Heirloom Sweater in Princess Rockstar, and using double pointed needles.
Cast on and cuff
Follow the directions that apply for your size and weight of yarn. Learn more about How to Read Multi-size Pattern Instructions if this is new for you.
With smaller needles cast on:
Fingering: 32 (36, 42, 46, 52) sts.
DK: 28 (34, 38, 44, 48) sts.
Worsted: 24 (28, 32, 36, 40) sts.
Chunky: 22 (26, 28, 32, 36) sts.
Place BOR (beginning of round) marker and join for working in the round.
You'll knit these mittens using either double pointed needles (DPNs) or a long circular needle and the Magic Loop technique.
Tip for working with Double Pointed Needles (DPNs): when I use double pointed needles I don't like to use a beginning of round (BOR) marker. Instead, I distribute my stitches with 1/2 on the first needle, 1/4 on the second needle, and 1/4 on the third needle. This way I know the BOR is at the start of the 'full' needle.
Work in 1×1 rib (k1, p1) until piece measures 2.5 (2.5, 3, 4, 4)" from cast-on. Switch to larger needles.
Fingering and DK: knit 3 (3, 4, 4, 4) rounds.
Worsted and chunky: knit 2 (2, 3, 3, 3) rounds.
So far so good? Work in 1×1 rib means you are going to work: k1, p1, k1, p1, k1, p1, k1, p1 etc. to form a ribbing pattern. This particular mitten pattern has generous cuffs, but if you prefer a shorter cuff, simply work fewer rounds here.

Thumb gusset

Take a quick look at your hand. Your thumb sort of sticks out a bit right? Even the part of your thumb that is still a part of your hand. Well, we have to make an extra little triangle of fabric to accommodate that part of your thumb. This extra triangle is called the thumb gusset.
To create this triangle of fabric we are going to work some increases. Some patterns specify which type of increase to use and some don't, it is knitters choice. You can use any increase you like, for this pattern I am going to work some M1 (make 1) increases. And, to be a little extra fancy, I am going to work paired increases, first an M1L and then a M1R (make 1 left and make 1 right). Check out the full tutorial on M1s here.
Set up round: m1, k1, m1, PM, knit to end [2 sts inc]
After the set up round, you will have two markers in your work: the BOR marker you've had since the beginning and a second marker indicating the end of the thumb gusset. Learn about how to place and use stitch markers if this is new for you. As you work the thumb gusset, the number of stitches between the two markers will increase.
Rounds 1 and 2: knit
Round 3: m1, knit to marker, m1, SM, knit to end of round [2 sts inc]
Fingering: work rounds 1-3 a total of 6 (6, 7, 7, 8) times, 15 (15, 17, 17, 19) sts between BOR and marker.
DK: work rounds 1-3 a total of 5 (5, 6, 6, 7) times, 13 (13, 15, 15, 17) sts between BOR and marker.
Worsted: work rounds 1-3 a total of 4 (4, 5, 5, 6) times, 11 (11, 13, 13, 15) sts between BOR and marker.
Chunky: work rounds 1-3 a total of 3 (3, 4, 4, 5) times, 9 (9, 11, 11, 13) sts between BOR and marker.
Do you see a pattern forming? We are increasing two stitches every third row and you should start to see a triangle forming. Notice how the increases I am using make the thumb gusset distinct by 'leaning away' from the mitten? That is because of the paired increases I am using.

Put thumb stitches on hold

Next we will put the thumb stitches on hold. For this you will need a darning needle (preferable a dull one) and a small piece of waste yarn. While it is sometimes preferable to put stitches on a stitch holder (a tool like a giant safety pin), for a mitten waste yarn is better because it's flexible.
Thread the needle with the waste yarn and thread it through the thumb gusset sts (the ones between the BOR and the marker). Tie the ends of the waste yarn together. You can now remove the second marker.


Next we are going to cast on a new stitch in the middle of the round. Why, you ask? Because the thumb stitches 'grew' out of a single knit stitch, but then we put all the thumb stitches on hold. So we need to add a new stitch to take the place of the stitch lost to the gusset. The cast on method we use is the backward loop cast-on.

Hand
Knitting the hand of the mitten is pretty simple: just keep knitting every round.
Continue knitting every round until the piece measures 1.75 (3, 3.75, 4, 4.5)" from end of thumb gusset.

On to the decreases!
Decreases
Fingering set up: k16 (18, 21, 23, 26), PM, knit to end
DK set up: k14 (17, 19, 22, 24), PM, knit to end
Worsted set up: k12 (14, 16, 18, 20), PM, knit to end
Chunky set up: k11 (13, 14, 16, 18), PM, knit to end
Round 1: (k1, ssk, knit to 3 sts before marker, k2tog, k1) twice [4 sts dec]
Fingering: work round 1 a total of 6 (7, 8, 9, 11) times, 8 (8, 10, 10, 8) sts remain.
DK: work round 1 a total of 5 (6, 7, 9, 10) times, 8 (10, 10, 8, 8) sts remain.
Worsted: work round 1 a total of 4 (5, 6, 7, 8) times, 8 (8, 8, 8, 8) sts remain.
Chunky: work round 1 a total of 3 (4, 5, 6, 7) times, 10 (10, 8, 8, 8) sts remain.
If you haven't worked an ssk or a k2tog before, check out those tutorials as well. If the Round 1 instructions are confusing, learn how to interpret brackets within knitting pattern instructions.
Have you decreased to your last few stitches? Great, you're almost done!

Break yarn, leaving a 6" tail, then use a blunt needle to thread the yarn tail through remaining live sts. Pull tight to close top of mitten.

Thumb
Only the little thumb to go! You've come so far – don't drop this project now! Keep knitting until you finish your first mitten, or, for bonus points, cast on the second immediately!
Place held sts back on larger needles. Knit across these sts, pick up and knit 1 stitch from body of mitten, PM and join for working in the round.
Fingering: 16 (16, 18, 18, 20) sts.
DK: 14 (14, 16, 16, 18) sts.
Worsted: 12 (12, 14, 14, 16) sts.
Chunky: 10 (10, 12, 12, 14) sts.
You can find a tutorial on picking up and knitting stitches here.


You now have all your thumb stitches on your needles.
Knit every round until thumb measures 1 (1.25, 1.75, 2, 2.25)" from pick up.
Next round: [k2tog] around
Break yarn, leaving a 6" tail and weave through remaining live sts. Pull tight to close top of thumb.
You close the top of the thumb exactly the same way as the top of the mitten. You may have a small hole where you picked up that stitch from the body of the mitten. Just use your yarn tail and stitch up the hole before weaving in your ends on the inside of the work.
Weave in all the yarn ends and wet-block your mittens. You are ready to wear them out!

Ready to stretch your new skills?
Check out our mitten patterns here! Like our work? Get our email updates and we will let you know about new patterns, tutorials, and events!
Source: https://blog.tincanknits.com/2016/12/01/letsknitsimplemittens/
0 Response to "Easy Knitted Mitten Pattern With Pictures for Each Step"
Post a Comment